Guys. I don’t know about you, but I am OBSESSED with DIYing. It’s so cool to make something that looks good and is functional! I have been DIYing for a couple years now, but for the site I’m going to start off with a really easy DIY that I think anybody can do, it’s useful, and most important of all, it’s so pretty! So, this is just a quick DIY on how to color code your make up brushes by painting the handles!
1. So the first thing you’re going to do is pick out your colors and decide what color indicates function. If you want you can color code some other way, but I wanted to color code my brushes in a way that made sense to me. So, I picked out pink for my old brushes that I use for applying face masks and other skin products. You want to make sure you pick out colors that really stand out against the black or white of your brush handle. Since I had brushes of both colors I went with bright colored polishes. If you have all black brushes (MAC brushes are all black unless they are limited edition), then you could go for a light pink ombré if you’re just painting your brushes for style and don’t care about color coding. Go ahead and pick out a couple of cheap nail polishes at the drugstore for $1 each or so, don’t waste your expensive Essie or OPI nail polishes on this.

2. Next, you’re going to want to wrap painters tape around your handle so that it is straight. Take a good sized amount of tape so you can wrap it around a couple times to make it completely straight. I didn’t use a uniform spacing or anything, I just wrapped at a height which looked good against the thickeness of the brush handle.

3. Now, the easiest part! Lay down newspaper for this! Paint with your nail polish, and don’t be stingy or you’ll end up with streaks, but don’t pour the whole bottle onto your brush either, you’ll end up with drips. Do just one full coat, going over any streaks if necessary.

4. Leave your brushes overnight to dry. I taped mine down to a corner of the kitchen counter so the polish wouldn’t touch anything, but there was no risk of the brush falling down either.
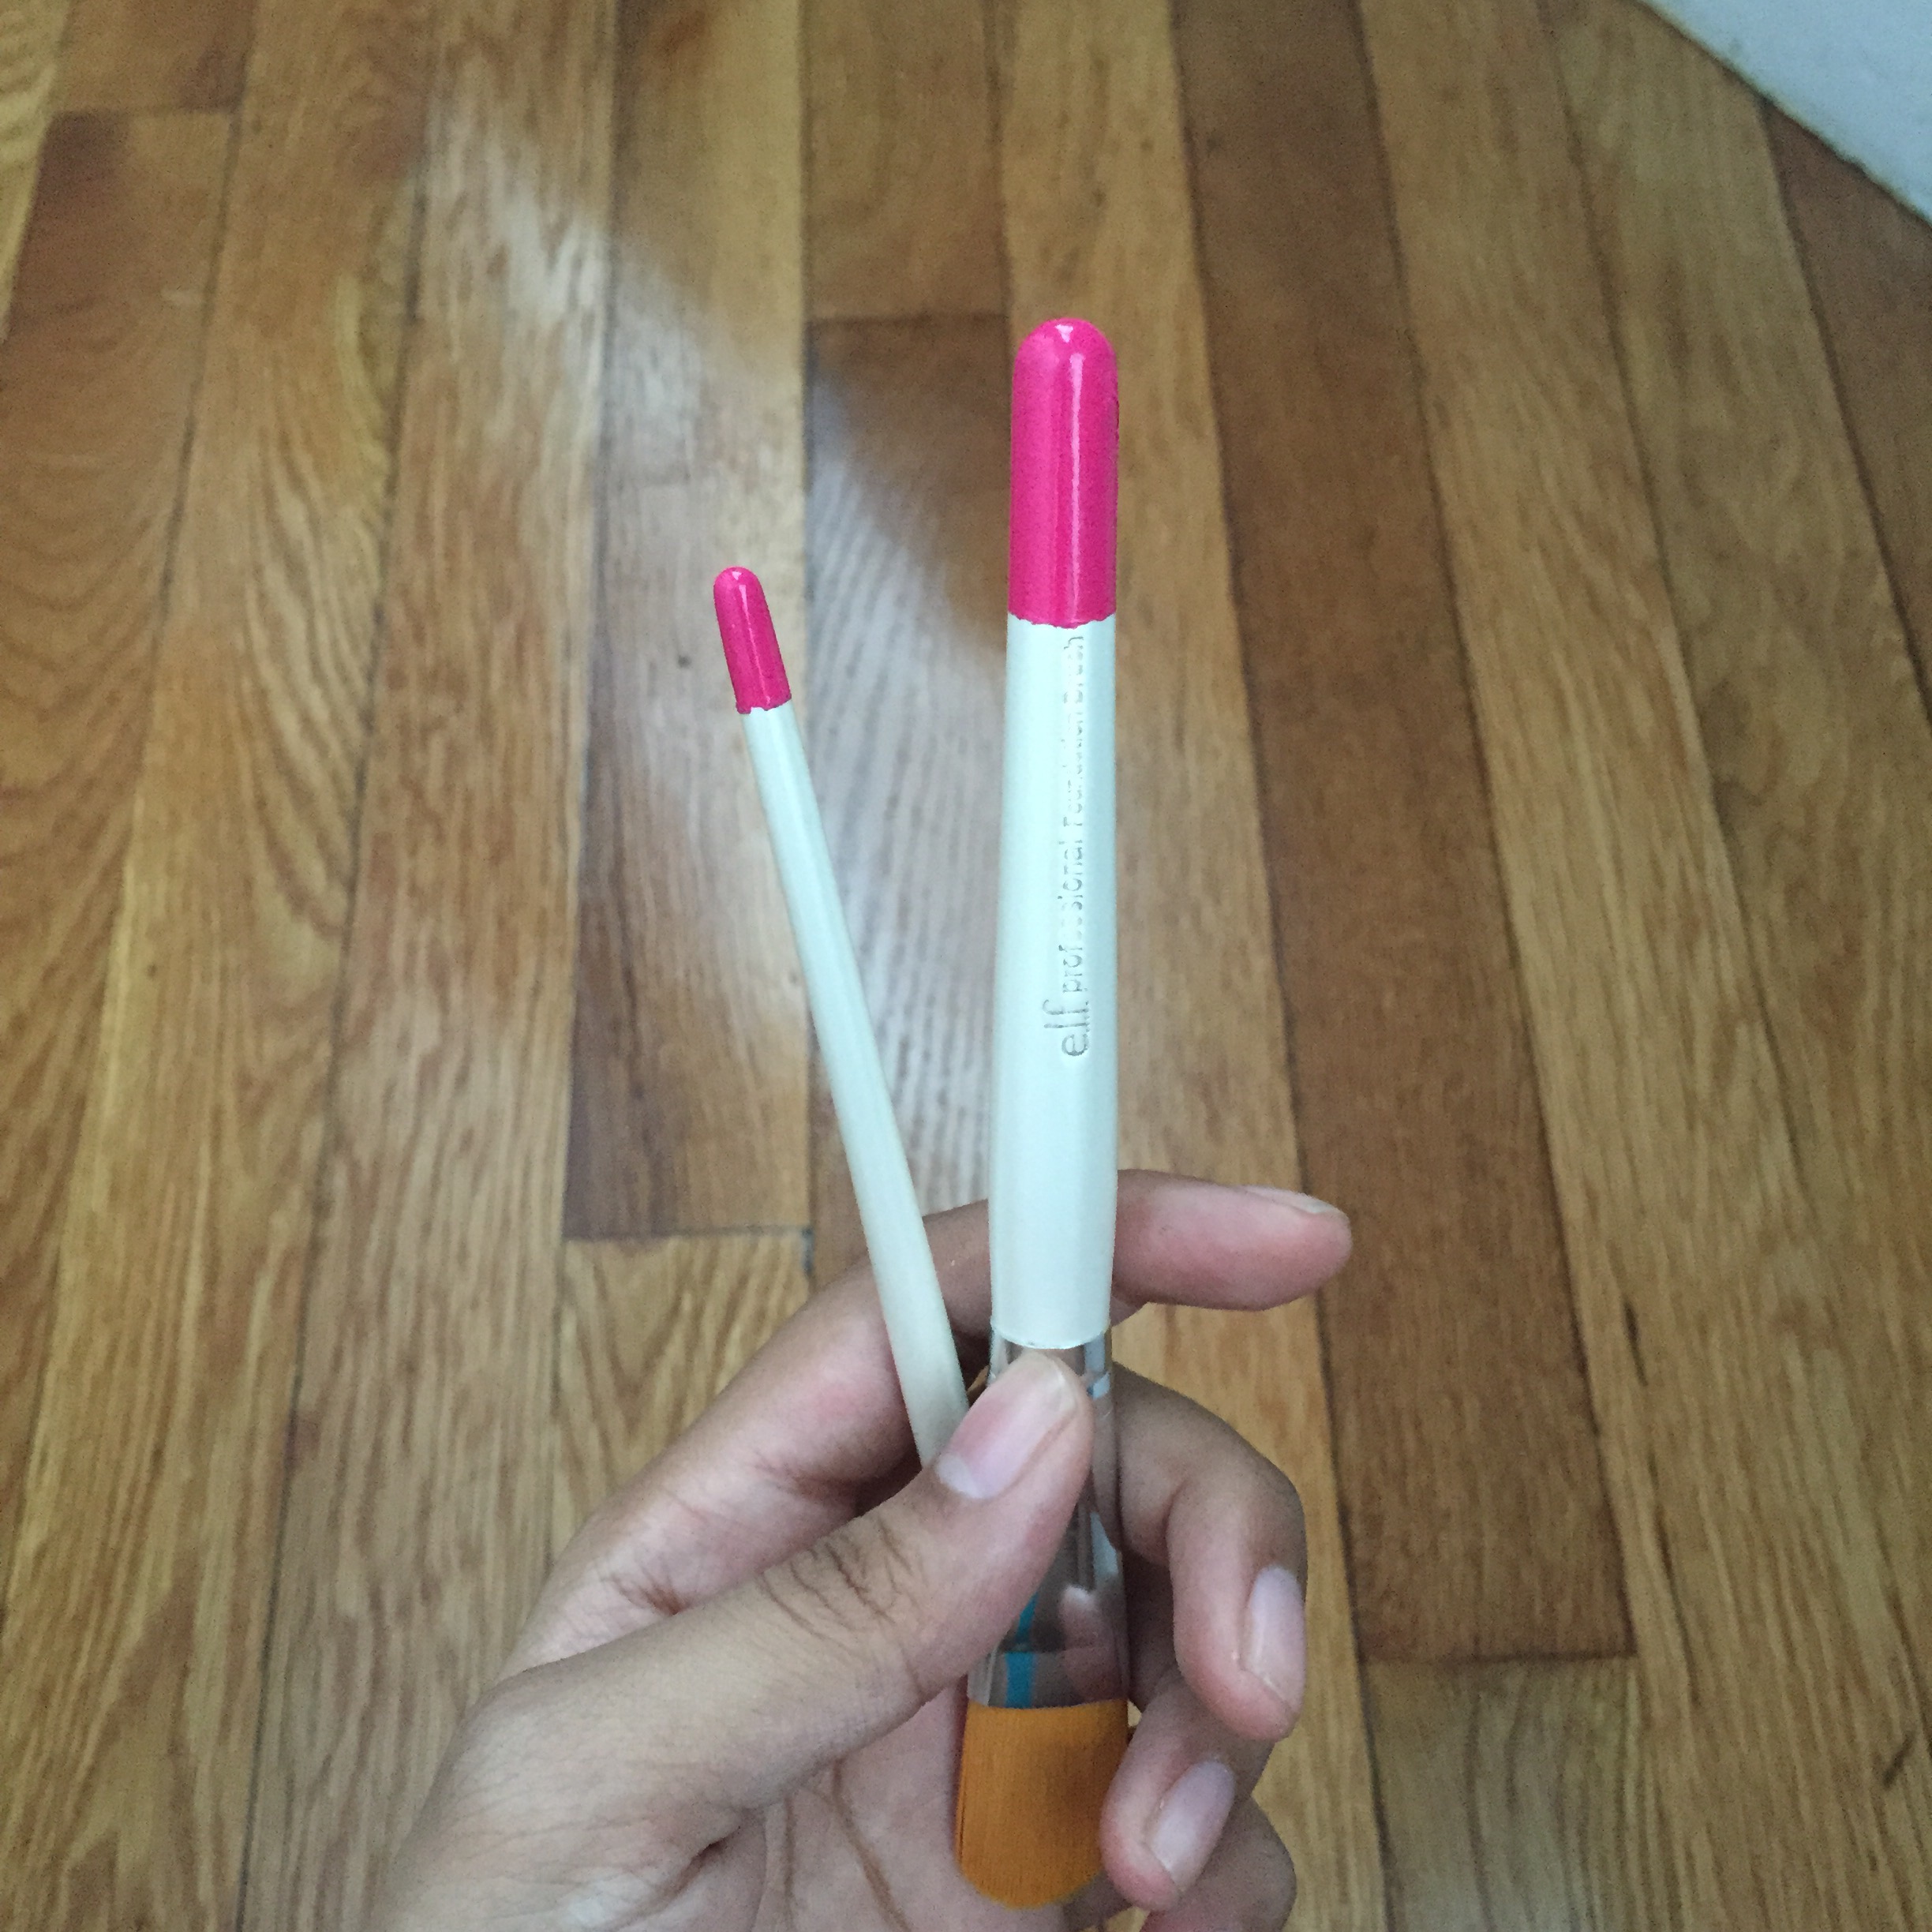
5. Once your brushes are dry, remove the tape! If you’re really particular I guess you could take a fine brush and fill in any gaps, but I didn’t feel like that was necessary.
Use your beautiful newly DIY’d brushes! If you feel like the paint is chipping off, just go over it again! Eas(ier) than pie!

